
Agent Plus users can chop and change text/photos using the Content Management System (CMS) with this ability you can keep your website fresh and up to date.
The first step to changing content is by logging into the backend of your website which is your website URL /dashboard – If you have lost any login information from your launch just reach out to our team and we can easily provide you with newer details.
Once logged in use the navigation on the left side of the screen and click “page content”
You will be greeted with a page as shown below:
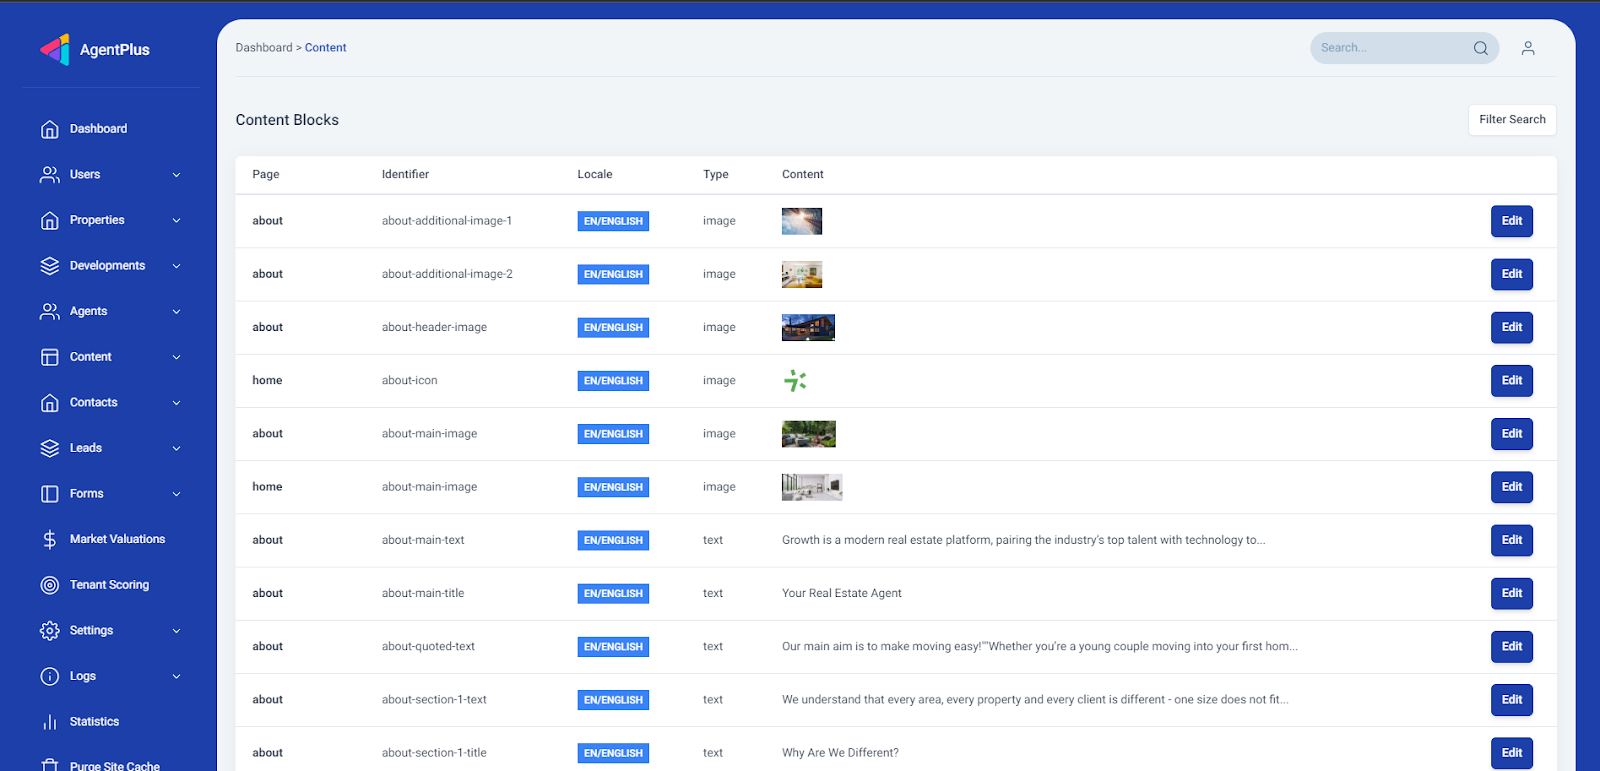
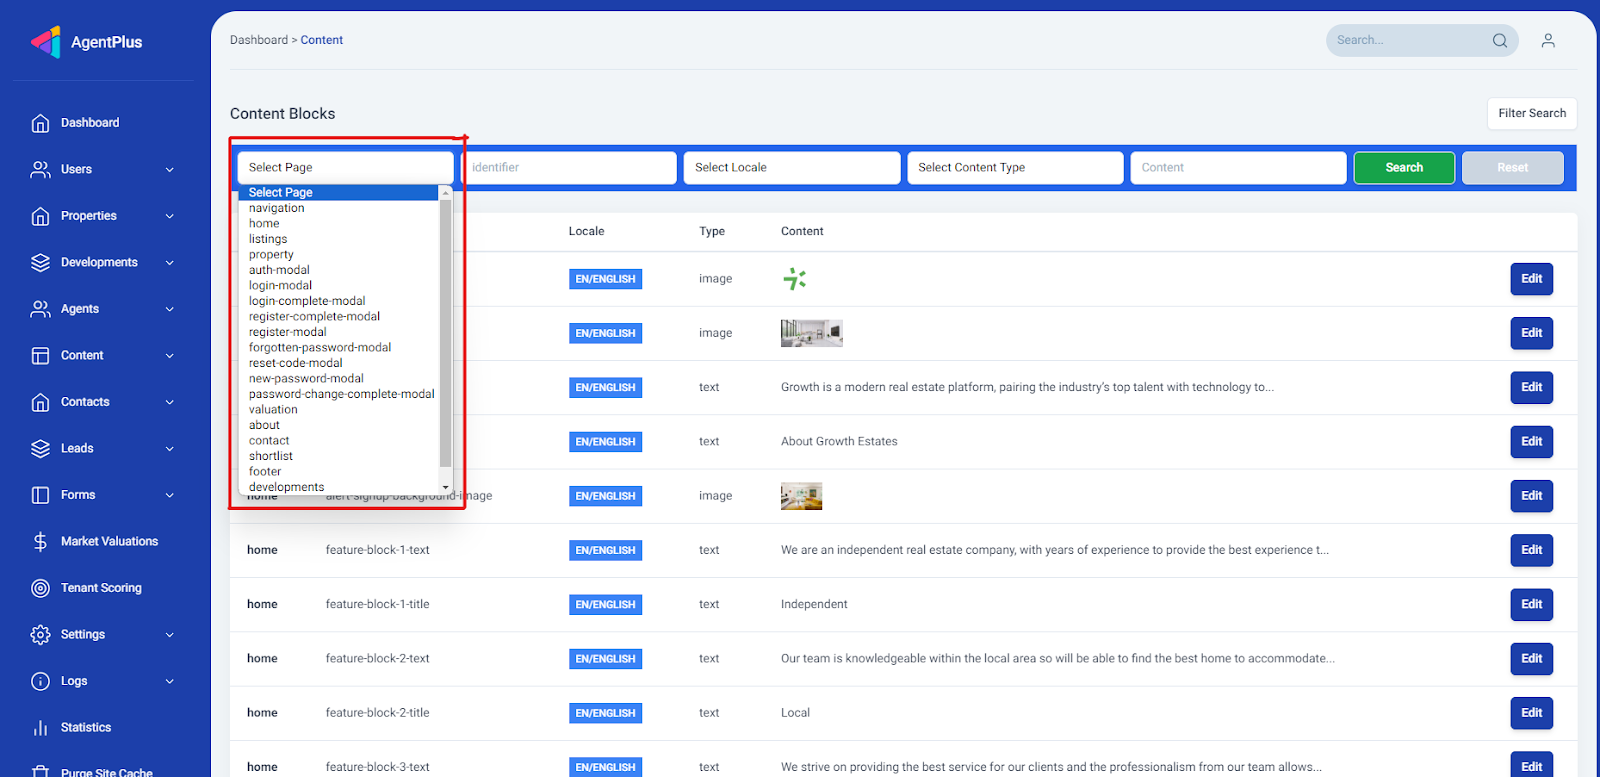
Our biggest tip for using this part of the backend is to use the filter search, use the “Select page option for where you want to change content and find the currently displayed text, then click “edit”
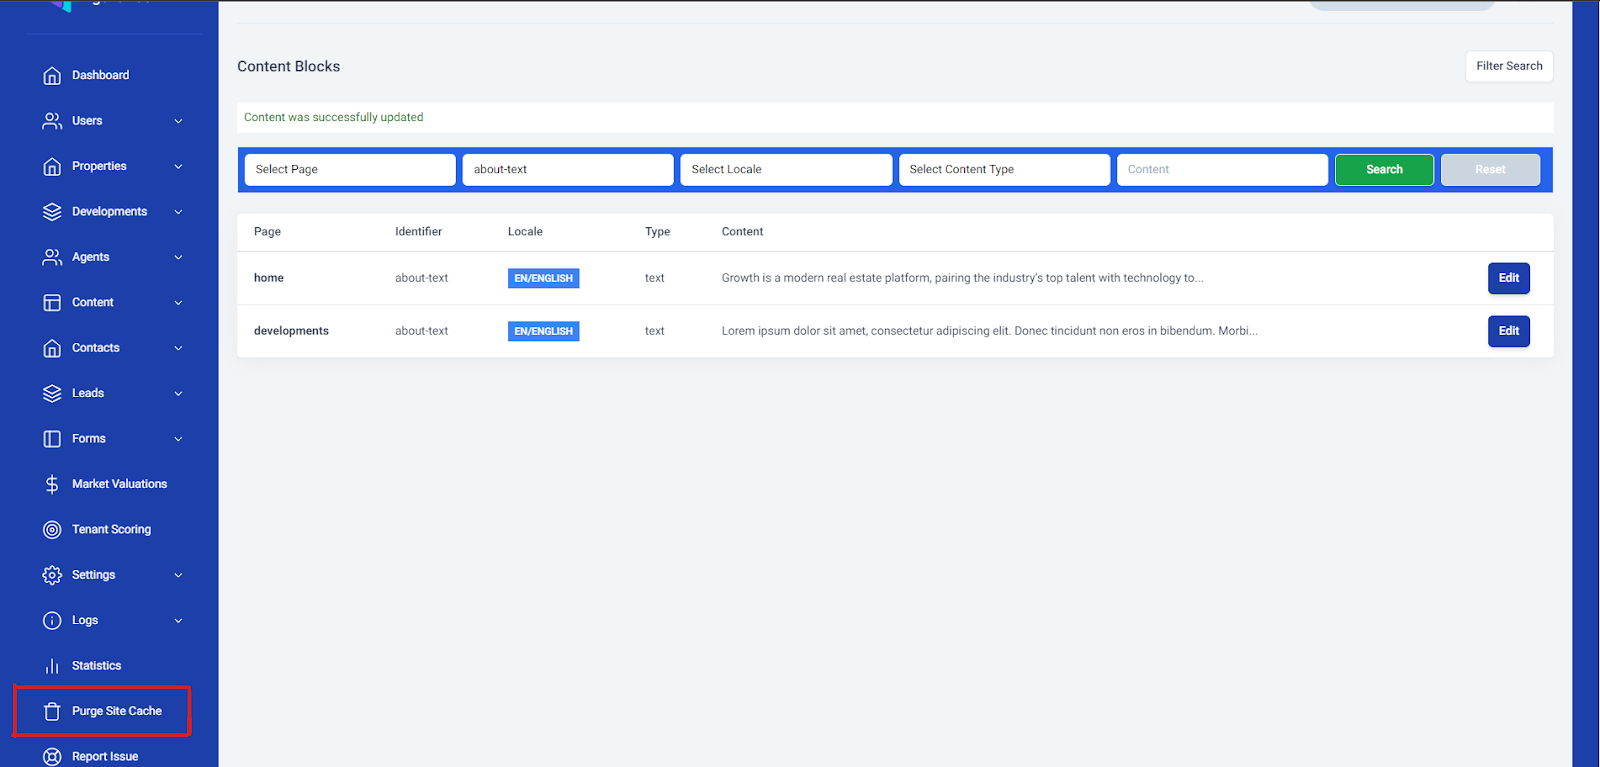
Finally you now need to change what the text is displayed as and click “Update Content”
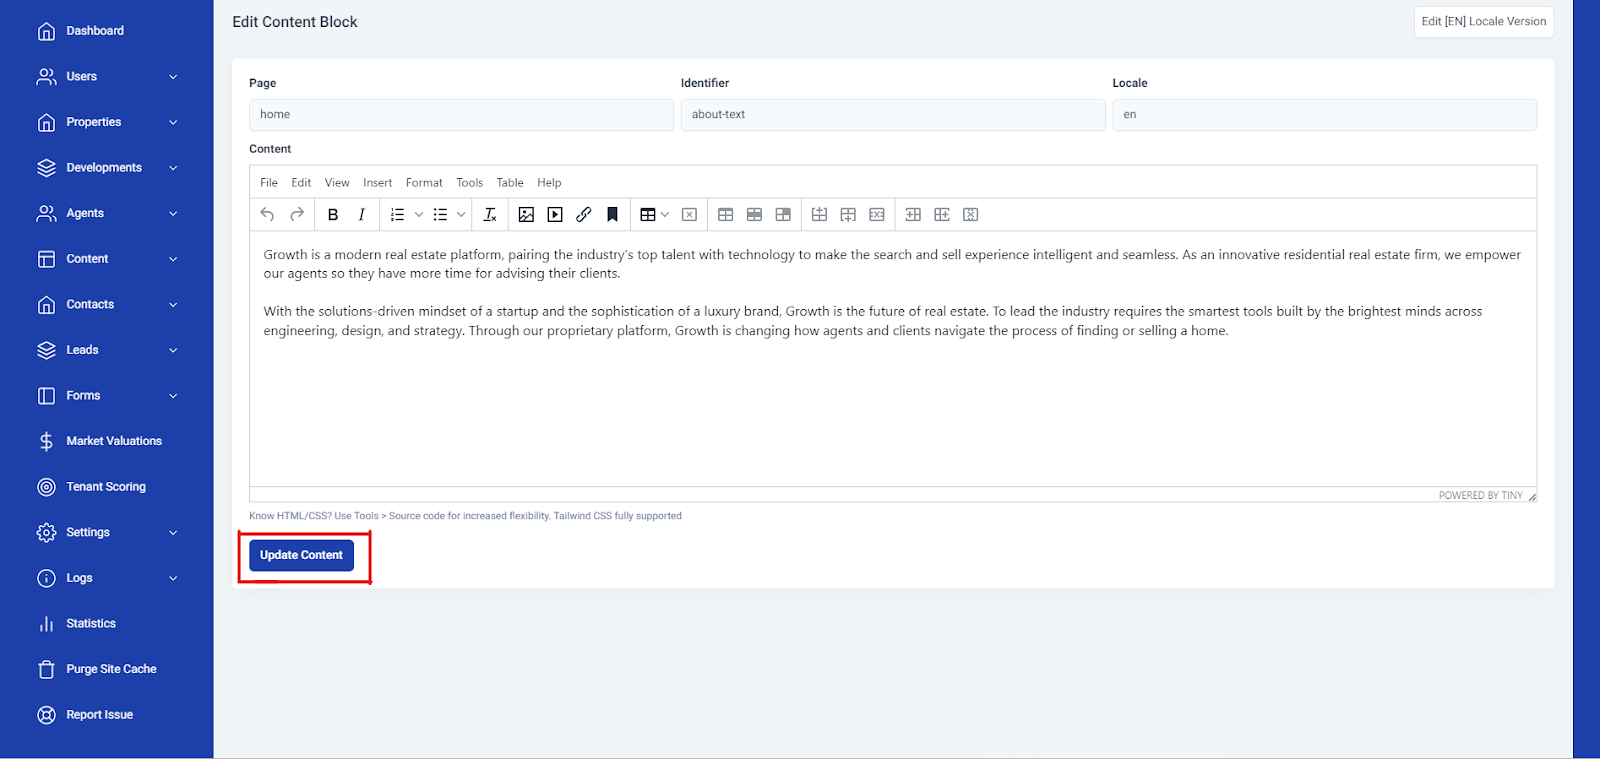
For the site to update instantly you will need to purge site cache which is easily done by using the button in the left side navigation bar. With Agent Plus the Cache is stored for the speed performance of the site, purging the cache does NOT delete any content displayed on the site but you might experience some slowness when loading pages for the first time.
How to change photos using the CMS:
Changing photos in the backend is the same process however there are a few things to consider when doing so…
First, find the image you want to change, the filter search is again your best way to find the chosen image.
Click “Edit” and you will be taken to the page below
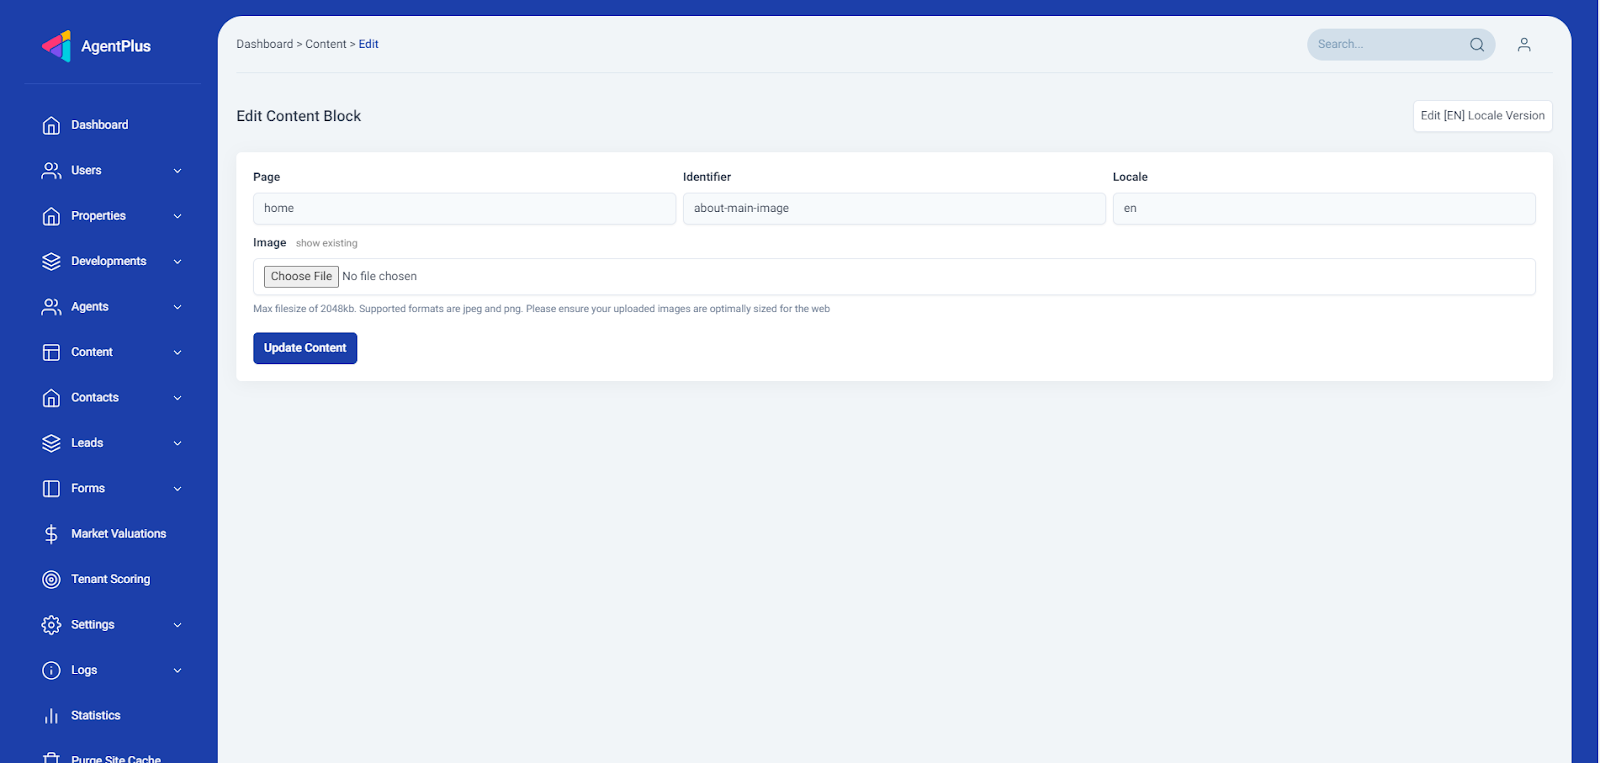
What to consider when changing photos on your website
The speed of your website is highly important as a slow website can lead to low conversion rates if users find it difficult to navigate through the website.
We recommend that you use images with low file sizes to avoid this issue, you can use online tools to compress images such as Compressjpeg and ShortPixel.
Once you have compressed the images simply upload them by selecting “Choose File” and selecting the image located in your computer library. Lastly, use the “update content” button to upload the photo.


